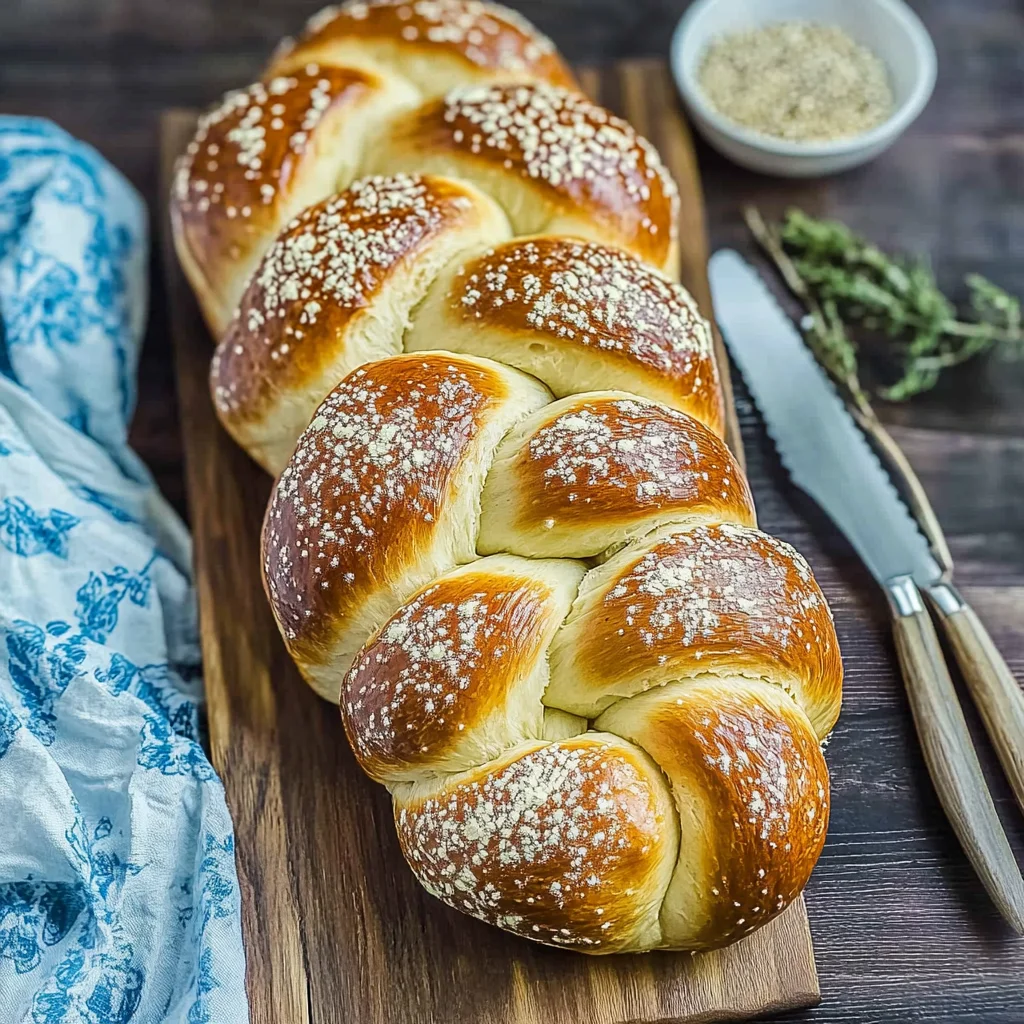
Imagine the heavenly aroma of freshly baked challah bread wafting through your kitchen, evoking warmth and comfort with each golden, braided loaf. The soft, pillowy texture invites you to take a bite, while the subtle sweetness lingers on your palate, making every slice a cherished moment.
This challah bread recipe is not just simple to follow; it transforms into a delightful activity for family or friends. With just a few key steps, you'll create a beautiful centerpiece for any meal or celebration that brings everyone together around the table.
Quick Overview
This challah bread recipe yields a beautifully braided loaf that is soft, slightly sweet, and perfect for any occasion. Enjoy it fresh out of the oven or toasted with butter for breakfast, or use it for French toast. Its delightful texture and flavor make it a beloved addition to festive gatherings and family meals alike.
Why This Recipe Works
- This challah bread recipe strikes a perfect balance between simplicity and deliciousness, making it accessible for all bakers.
- The technique of activating the yeast ensures a reliable rise, leading to a beautifully fluffy texture.
- Each step in this recipe harmonizes to develop rich flavors, resulting in irresistible bread that's perfect for any occasion.
- Trust in this recipe, and you'll create a stunning loaf that delights everyone at the table.
As you embark on your baking journey, let’s explore some essential tips for achieving the best results.
Essential Ingredients
To create the perfect challah bread, you'll need these carefully selected ingredients.
- 4 cups all-purpose flour (sifted): Sifting helps aerate the flour, ensuring a light and fluffy texture in your bread.
- 1 cup warm water (about 110°F (43°C)): Use a thermometer to check the temperature for optimal yeast activation.
- ½ cup granulated sugar (divided): Dividing the sugar allows for better fermentation and sweetness throughout the dough.
- 1 tablespoon active dry yeast (or instant yeast): Fresh yeast is vital; check expiration dates for best results.
- 1 teaspoon salt: Salt enhances flavor but should be added to dry ingredients to avoid direct contact with yeast initially.
- ¼ cup vegetable oil (or melted butter): Oil contributes to moisture, while butter can add a rich flavor if you choose to melt it.
- 3 large eggs (room temperature): Room temperature eggs blend more easily into the dough, offering better texture and rise.
- 1 large egg yolk (for egg wash): This gives the bread a beautiful golden sheen when baked.
- 1 large egg (beaten): The beaten egg serves as an egg wash for a shiny finish on your loaf.
- 1 tablespoon water (to thin the egg): Mixing water with the beaten egg ensures an even application when brushing on the bread.
The full ingredients list, including measurements, is provided in the recipe card directly below.
How to Make challah bread recipe
Step 1: Activate the Yeast:In a large mixing bowl, combine warm water, 1 tablespoon of sugar, and yeast. Stir gently and let sit for about 5-10 minutes until frothy, releasing a pleasant yeasty aroma.
Step 2: Mix Dry Ingredients:In a separate bowl, whisk together sifted flour, remaining sugar, and salt until evenly mixed. The fine texture of the flour should feel smooth against your fingers.
Step 3: Combine Mixtures:Once the yeast mixture is frothy, add in vegetable oil and eggs. Mix thoroughly; the glossy mixture should become slightly thickened and fragrant as you stir.
Step 4: Knead the Dough:Gradually add the dry ingredients to the wet mixture, stirring until a shaggy dough forms. Knead on a floured surface for about 8-10 minutes until smooth and elastic, feeling warm and pliable.
Step 5: First Rise:Place the kneaded dough in a greased bowl, cover it with a kitchen towel, and let it rise in a warm spot for about 1-2 hours. It should double in size, becoming puffy to the touch.
Step 6: Shape and Second Rise:After punching down the risen dough, divide it into three equal pieces. Braid them tightly and allow the loaf to rise again for 30-45 minutes until noticeably puffy and airy.
Now that your dough has risen beautifully, let's move on to shaping it into that classic braid!
Common Mistakes to Avoid
- One common mistake in the challah bread recipe is not allowing the yeast to fully activate, which can lead to denser bread.
- Another frequent error is skipping the second rise after shaping, resulting in a less airy and fluffy texture.
- Lastly, neglecting to measure the flour accurately can alter the dough's consistency and affect the final loaf’s quality.
As you refine your technique, let’s explore how to perfect the baking process for your challah.
Pro Tips for Best Results
1. Ensure your water is at the right temperature (about 110°F or 43°C) to activate the yeast effectively, promoting a good rise.
2. For a richer flavor, let the dough rise slowly in the refrigerator overnight; just remember to allow extra time for it to come to room temperature before shaping.
3. Use a sharp knife or kitchen scissors to score the top of the challah before baking; this helps it expand beautifully during cooking.
With these pro tips, you’ll elevate your challah bread recipe to new heights, ensuring a delightful homemade experience!
Make It Your Way
- While this challah bread recipe is delicious as is, feel free to customize it to suit your taste!
- Consider adding chocolate chips, dried fruits, or nuts for a delightful twist.
- For a dairy-free option, simply substitute the butter with vegetable oil and stick to the egg wash for that beautiful finish.
- Embrace your creativity and make this classic bread uniquely yours!
Now that you've explored customization options for your challah bread recipe, let's delve into some tips for achieving the perfect texture.
What to Serve With It
Challah bread pairs beautifully with a variety of dishes. Serve it alongside a warm bowl of soup, such as chicken noodle or lentil. For a sweet touch, enjoy it with honey or fruit preserves, and don't forget a cup of tea or coffee to complement your meal perfectly.
Now that you have the perfect challah bread recipe, let’s explore some delicious variations!
Make-Ahead & Meal Prep
This challah bread recipe can be prepared ahead of time by allowing the dough to rise and then refrigerating it after punching it down. However, avoid letting it sit too long in the fridge; it's best used within 24 hours for optimal flavor and texture. Enjoy freshly baked challah!
Now that you've mastered meal prep, let's dive into the delightful process of shaping your challah.
Storing & Reheating
To store your challah bread, wrap it tightly in plastic wrap or aluminum foil and keep it at room temperature for up to 3 days. For longer storage, freeze it in an airtight bag for up to 3 months. To reheat, wrap in foil and warm in a 350°F (175°C) oven for about 10-15 minutes, preserving its delightful texture and flavor.
Now that you know how to enjoy your challah bread at its best, let’s explore some delicious serving suggestions!
Troubleshooting & Fixes
If your challah bread doesn't rise, ensure the yeast is fresh and that the water temperature is around 110°F (43°C). If the dough feels too sticky, sprinkle in a little more flour while kneading until it becomes smooth and elastic. Lastly, if the crust isn’t golden, ensure you generously apply the egg wash before baking for that perfect color.
With these tips in mind, let’s dive deeper into how to enjoy your homemade challah!
FAQ
What is the best way to store challah bread after baking?
To keep the challah bread fresh, wrap it in plastic wrap and store it at room temperature.
Can I freeze leftover challah bread from this challah bread recipe?
Yes, you can freeze the challah bread. Wrap it tightly in plastic and place it in an airtight bag.
How long does it take for the dough to rise in this challah bread recipe?
The dough typically takes about 1-2 hours to rise until doubled in size, depending on warmth.
With these tips, you'll have a better understanding of making and enjoying your homemade challah bread!
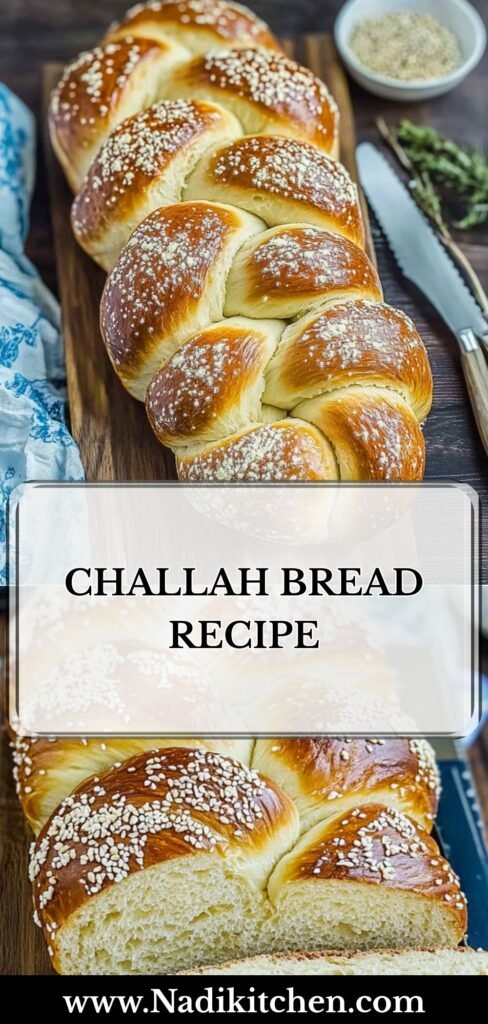
Challah Bread
Ingredients
Method
- In a large mixing bowl, combine warm water, 1 tablespoon of sugar, and yeast. Stir gently and let it sit for about 5-10 minutes until frothy. This step activates the yeast, ensuring your bread rises properly.
- In a separate bowl, whisk together the flour, remaining sugar, and salt. Mixing these dry ingredients helps to evenly distribute the salt and sugar.
- Once the yeast mixture is frothy, add the vegetable oil and eggs to the bowl. Mix well.
- Gradually add the dry ingredients to the wet mixture, stirring with a wooden spoon or using a stand mixer with a dough hook until a shaggy dough forms.
- Knead the dough on a floured surface for about 8-10 minutes until smooth and elastic. If using a stand mixer, knead on medium speed for about 5-7 minutes.
- Place the dough in a greased bowl, cover with a kitchen towel, and let it rise in a warm place for about 1-2 hours, or until doubled in size. This allows the yeast to ferment and develop flavor.
- Once the dough has risen, punch it down to release the air. Divide the dough into three equal pieces for a traditional braid.
- Roll each piece into a long rope, about 12-14 inches long. Make sure they are even in thickness for a uniform braid.
- Pinch the ends of the three ropes together and braid them tightly, tucking the ends under to secure. Place the braided loaf on a baking sheet lined with parchment paper.
- Cover the braided loaf with a kitchen towel and let it rise again for about 30-45 minutes, until puffy.
- Preheat your oven to 350°F (175°C).
- In a small bowl, whisk together the beaten egg and water to create the egg wash. Brush the egg wash generously over the braided loaf to give it a beautiful golden color when baked.
- Bake the challah in the preheated oven for 25-30 minutes, or until the top is golden brown and the bread sounds hollow when tapped on the bottom.
- Remove from the oven and let cool on a wire rack before slicing. This cooling period allows the bread to set properly.
Leave a Reply