Go Back
+ servings
No-Oven Stovetop Bread

No-Oven Stovetop Bread

Enjoy the soft, fluffy No-Oven Stovetop Bread made easily on the stovetop without an oven.
Prep Time 10 minutes
Cook Time 30 minutes
Rising Time 1 hour
Total Time 1 hour 40 minutes
Servings: 8 slices
Course: MIDDAY MEALS
Cuisine: Breads
Calories: 150

Ingredients
  

For the Dough
  • 3 cups all-purpose flour Essential for a sturdy yet soft texture
  • 1 cup warm milk or water Activates the yeast; choose milk for more flavor
  • 2 teaspoons active dry yeast Crucial for fluffiness
  • 1 tablespoon granulated sugar Balances flavors and feeds the yeast
  • 1 teaspoon salt Elevates flavors and controls yeast growth
  • 2 tablespoons vegetable oil or butter Adds richness and moisture
Optional Add-Ins
  • herbs or spices Dried herbs like rosemary or garlic powder for flavor
  • cheese Fold in grated cheese for a cheesy twist
  • nuts or seeds Sunflower seeds or walnuts for crunch

Equipment

  • Skillet
  • mixing bowl
  • whisk
  • spatula

Method
 

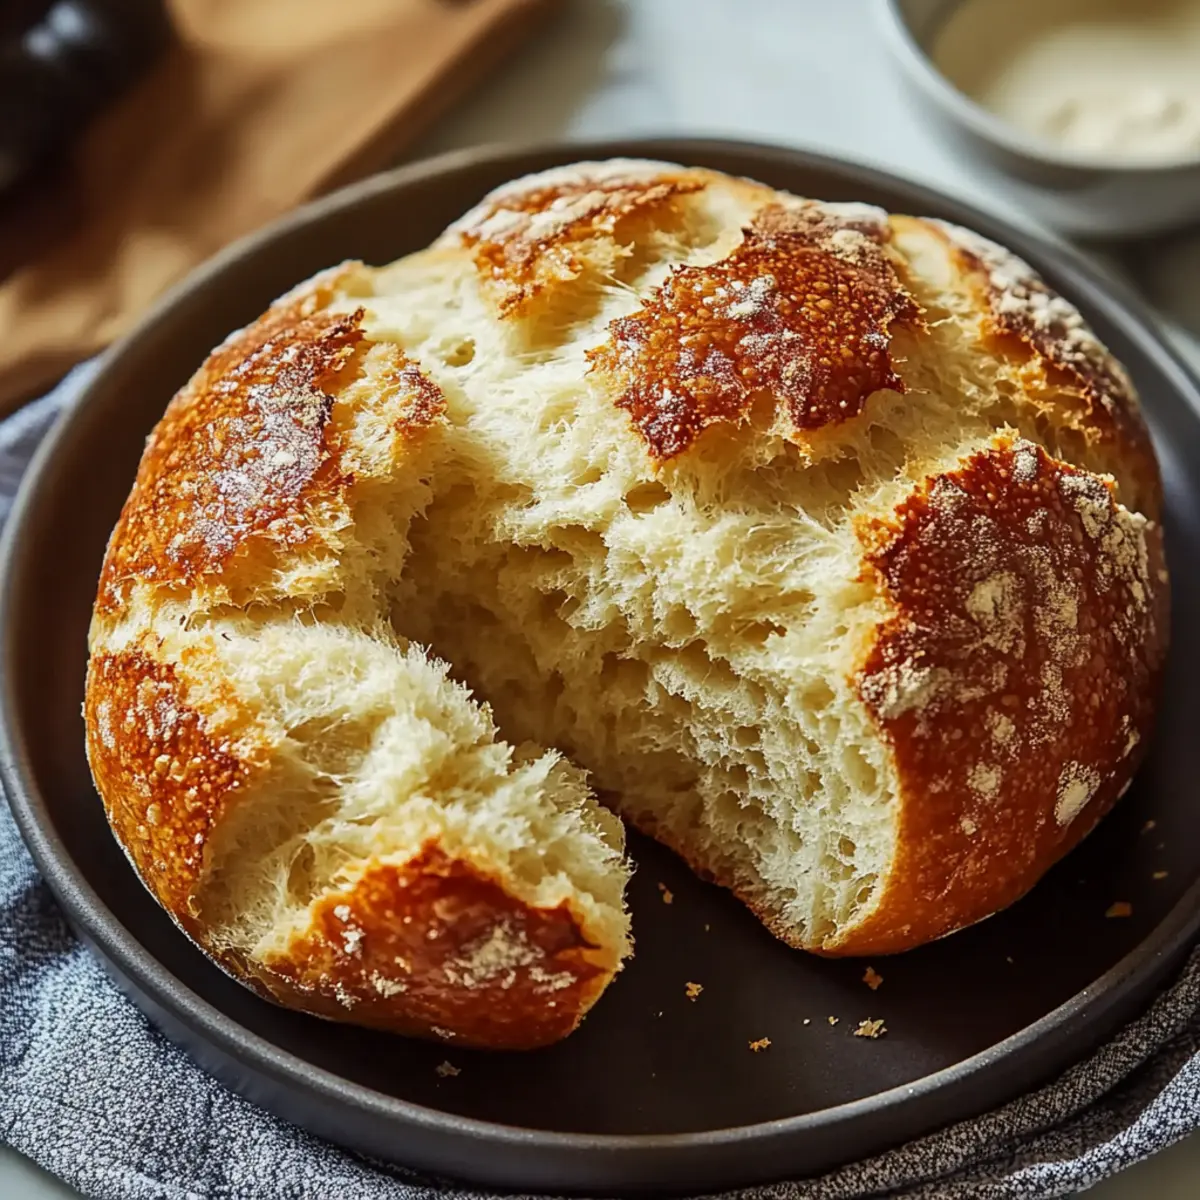
How to Make No-Oven Stovetop Bread
  1. Activate the yeast: In a small bowl, combine the warm milk or water, granulated sugar, and active dry yeast. Allow to sit for 5-10 minutes until frothy.
  2. Mix the dough: In a large bowl, add the flour and salt. Pour in the activated yeast mixture and oil/butter. Stir and knead for 5-7 minutes until smooth.
  3. Let the dough rise: Place the dough in a greased bowl, cover, and let rise for 50-60 minutes until doubled.
  4. Cook the bread: Heat a skillet over low heat, grease it, shape the dough into a loaf, and cook covered for about 15 minutes until golden.
  5. Flip and finish: Carefully flip the bread and cook for another 10-15 minutes until the second side is golden and sounds hollow.

Nutrition

Serving: 1sliceCalories: 150kcalCarbohydrates: 30gProtein: 4gFat: 2gSaturated Fat: 0.5gMonounsaturated Fat: 1gSodium: 140mgPotassium: 100mgFiber: 1gSugar: 1gCalcium: 1mgIron: 5mg

Notes

For best results, ensure your warm liquid is between 100-110°F and avoid over-kneading the dough. Store properly to maintain freshness.

Tried this recipe?

Let us know how it was!