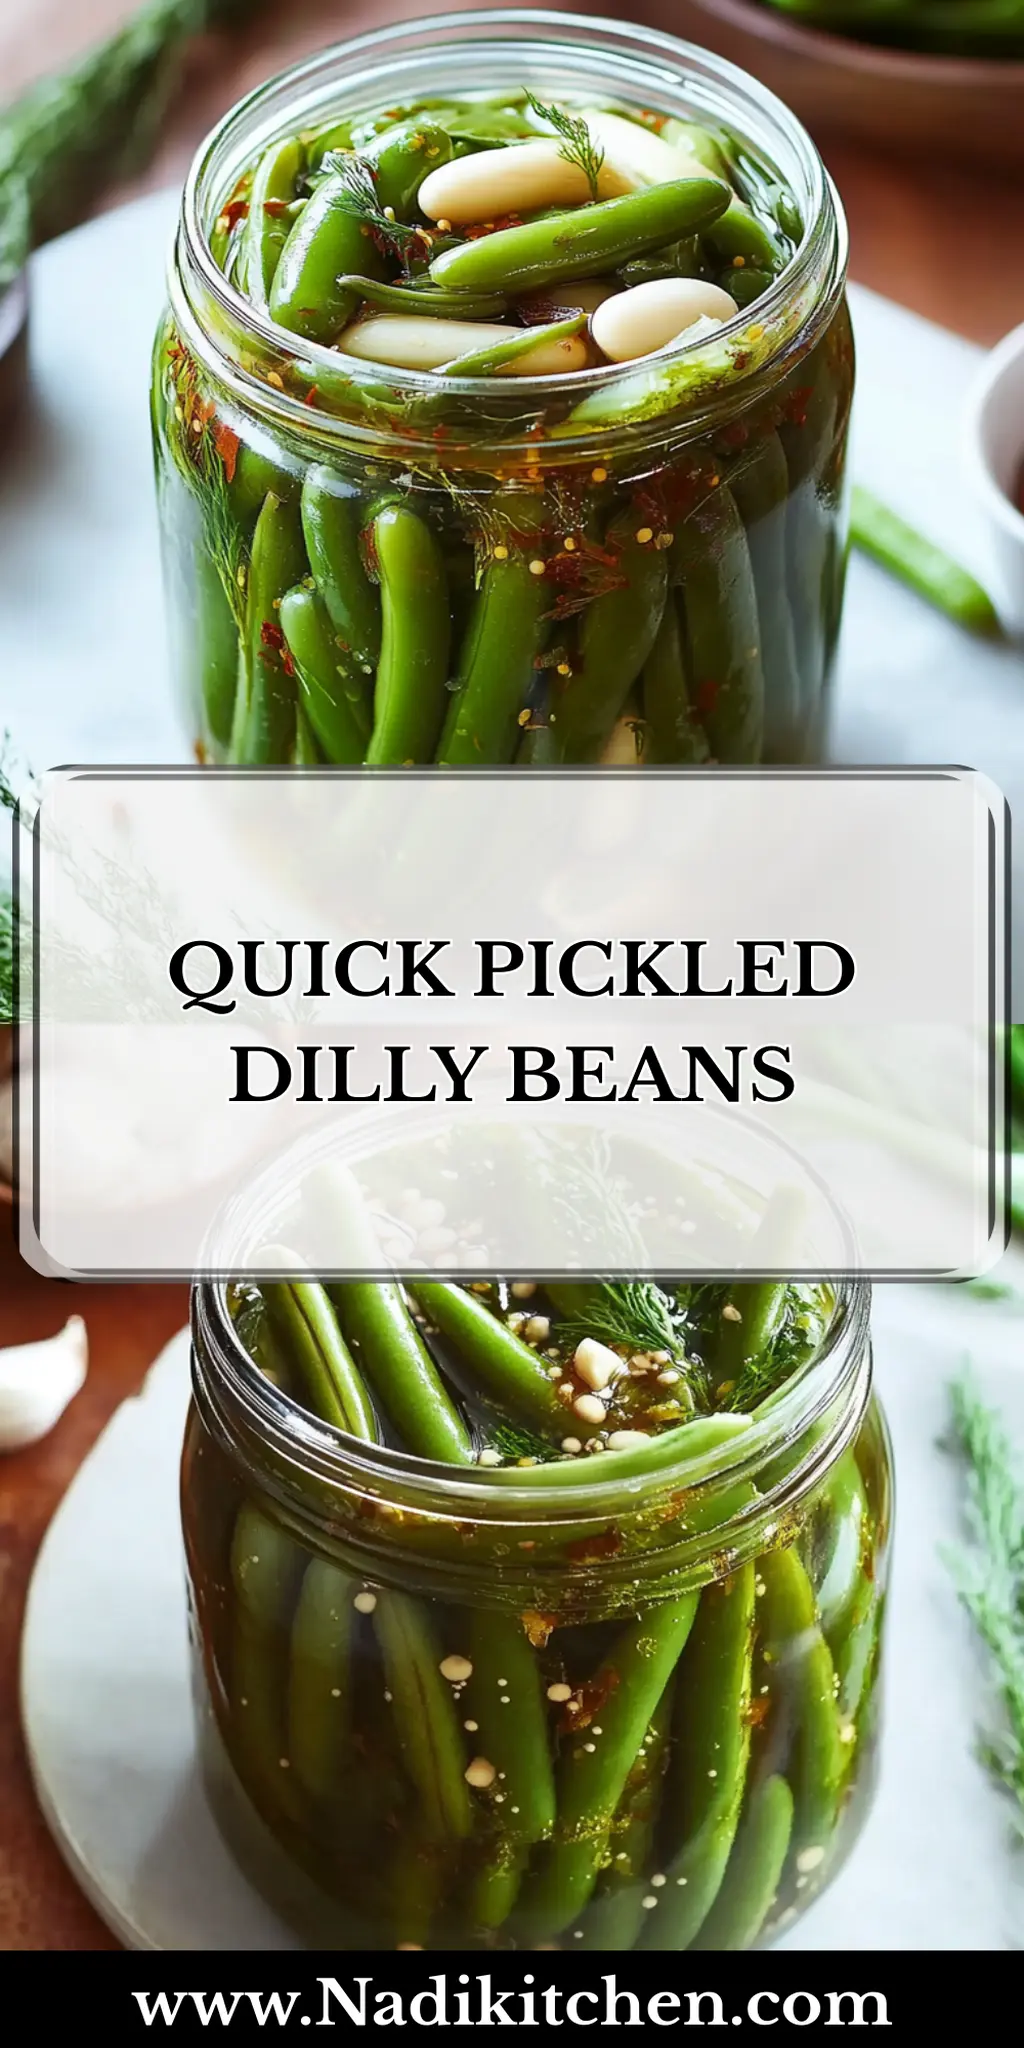
There's something wonderfully satisfying about preserving your own food. One bite of these Quick Pickled Dilly Beans brings back memories of warm evenings spent in my grandmother’s kitchen, where jars of vibrant vegetables lined her shelves, ready to complement any meal.
On a whim, I decided to elevate my everyday green beans into something extraordinary, and I can’t believe how easy it turned out. This zesty, vibrant recipe is perfect for those looking to swap out fast food for something fresh and homemade. With just a handful of ingredients, you’ll create a tangy delight that takes only 15 minutes to prepare (plus a bit of patience while they chill).
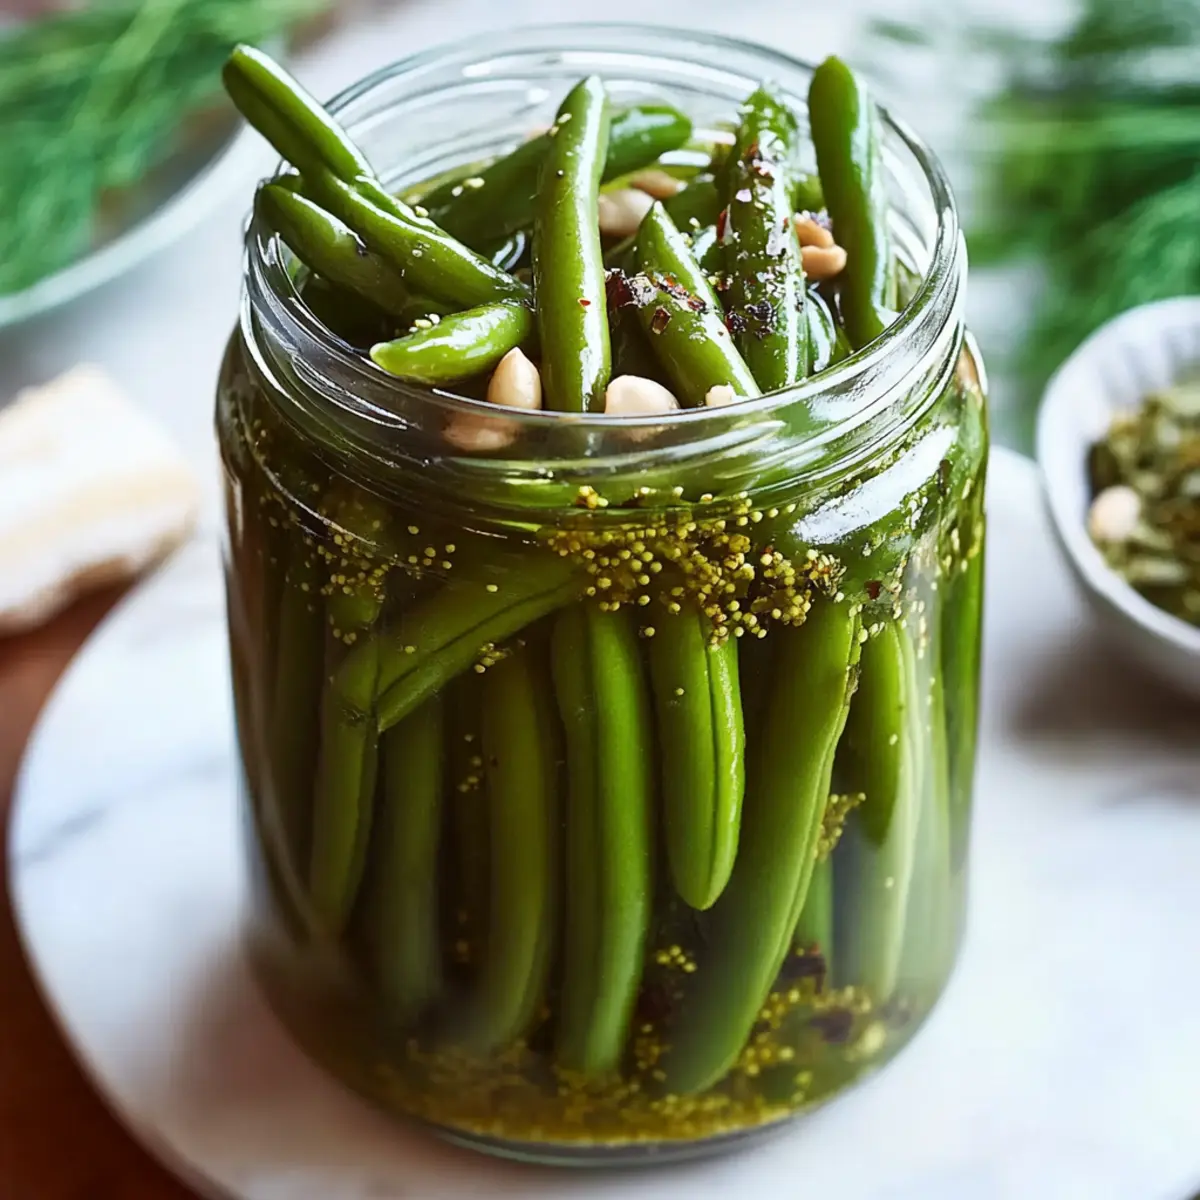
Imagine the crunch of green beans infused with garlic and dill, making each bite a flavor explosion. These quick pickles not only taste incredible but also add a pop of color and excitement to any spread. Whether served alongside grilled meats or as a standalone snack, these dilly beans are sure to impress! Ready to dive in? Let’s pick up those jars and get started!
Why You'll Love This Quick Pickled Dilly Beans
- These Quick Pickled Dilly Beans are incredibly easy to make, requiring just 15 minutes of your time for prep and cooking.
- The burst of flavor from the garlic and fresh dill transforms ordinary green beans into a tangy, delectable treat.
- Their vibrant colors and crunchy texture make a beautiful addition to any dish or appetizer platter, instantly elevating your meal presentation.
- Perfect for quick snacks or as a zesty side, these dilly beans are sure to be a crowd-pleaser at gatherings or family dinners.
Quick Pickled Dilly Beans Ingredients
For the Beans
• 1 lb green beans – trim the ends for a neat presentation and even pickling.
• 3 cloves garlic – peeled; intensifies the flavor and aroma of your pickles.
• 2 sprigs fresh dill – fresh dill elevates the taste, but you can use dill seeds as a substitute.
For the Brine
• 1 cup white vinegar – a key ingredient for tanginess; apple cider vinegar works if you prefer a milder flavor.
• 1 cup water – helps balance the vinegar for the perfect brine consistency.
• 1 tablespoon kosher salt – important for flavor and preservation; feel free to use sea salt, but avoid table salt as it can be too fine.
• 1 tablespoon sugar – balances the vinegar's tartness; reduce for an extra tangy kick.
Get your jars ready; it’s time to make some unforgettable Quick Pickled Dilly Beans!
How to Make Quick Pickled Dilly Beans
-
Pack the Jar: Start by tightly packing the trimmed green beans into a clean jar. Add the peeled garlic and fresh dill, ensuring they’re evenly distributed throughout for maximum flavor.
-
Heat the Brine: In a saucepan, combine the white vinegar, water, kosher salt, and sugar. Heat over medium heat, stirring gently until the salt and sugar are fully dissolved—this usually takes about 2-3 minutes.
-
Pour the Brine: Once dissolved, carefully pour the hot brine over the packed beans in the jar. Ensure the beans are completely submerged, which helps intensify their flavor and extends shelf life.
-
Cool and Seal: Allow the jar to cool at room temperature for about 20-30 minutes. Once cooled, seal it with a lid and refrigerate.
-
Chill Before Eating: For optimal flavor, let the dilly beans chill in the refrigerator for at least 24 hours before tasting. This waiting period allows the flavors to meld beautifully.
Optional: Add a pinch of red pepper flakes to the brine for a spicy kick!
Exact quantities are listed in the recipe card below.
What to Serve with Quick Pickled Dilly Beans?
These zingy little gems are perfect for brightening up any meal, evoking the warmth of family gatherings and fresh flavors.
-
Grilled Chicken: The smoky flavor of grilled chicken pairs beautifully with the tangy crunch of pickled beans, creating a balanced plate.
-
Creamy Potato Salad: Creamy and rich, potato salad complements the crispness of dilly beans, providing a satisfying contrast that makes every bite delightful.
-
Cheese Platter: A selection of cheeses, especially sharp cheddar or tangy goat cheese, pairs perfectly with the pickled beans for an exciting taste combination.
-
Fresh Garden Salad: Tossed greens topped with sliced cucumbers and cherry tomatoes add a refreshing crunch, nicely balancing the boldness of the pickled beans.
-
Roasted Salmon: The richness of salmon contrasts with the bright, vinegary notes of dilly beans, enhancing your meal with layers of flavor.
-
Cold Beer: A chilled lager or pilsner enhances the crisp, clean flavors of pickled beans, making it the ideal refresher to accompany your meal.
-
Chocolate Chip Cookies: End your meal on a sweet note! The familiar comfort of warm cookies creates a wonderful counterpoint to the sharpness of the dilly beans.
How to Store and Freeze Quick Pickled Dilly Beans
Fridge: Keep your Quick Pickled Dilly Beans sealed in the refrigerator for up to 2 months. Make sure the beans are submerged in the brine for maximum flavor.
Freezer: While freezing isn't recommended for these pickled beans due to texture changes, they can be frozen for up to 3 months if absolutely necessary. Thaw in the fridge before serving.
Reheating: These dilly beans are best enjoyed cold or at room temperature. Simply remove them from the fridge and serve alongside your favorite dishes or as a refreshing snack.
Room Temperature: Avoid leaving pickled beans out for more than 2 hours to maintain freshness and avoid spoilage.
Make Ahead Options
These Quick Pickled Dilly Beans are an excellent choice for meal prep enthusiasts looking to save time! You can pack the green beans, garlic, and dill in the jar up to 3 days in advance, ensuring you only have to worry about heating the brine and pouring it over when you're ready. Simply follow the packaging steps but skip the brine process until the day you're ready to serve! To maintain their vibrant flavor and crunch, refrigerate the packed jar until you're ready to complete the recipe. After pouring the hot brine over, allow them to cool, seal, and chill for at least 24 hours for maximum flavor infusion. Enjoy not only the delicious taste of these dilly beans but also the convenience they bring to your busy week!
Quick Pickled Dilly Beans Variations
Feel free to shake things up and make this recipe your own with these delightful twists!
-
Spicy: Add a teaspoon of crushed red pepper flakes or sliced jalapeños to the brine for an exciting heat that tingles the taste buds.
-
Herb Medley: Try substituting fresh dill with thyme or rosemary for a fragrant twist that will introduce a whole new aromatic layer.
-
Sweet & Sour: Use apple cider vinegar instead of white vinegar for a milder, sweeter tang that complements the natural flavor of the beans beautifully.
-
Garlic Lovers: Increase the garlic to 5 cloves for a stronger flavor punch or try roasted garlic for a mellow, sweet taste.
-
Zesty Citrus: Add strips of lemon or lime peel to the jar before pouring the brine for a refreshing, bright zing that enhances the overall flavor.
-
Cucumber Crunch: Toss in a few cucumber slices alongside the green beans for varied textures and a delightful pickled treat.
-
Smoky Infusion: Include a few drops of liquid smoke to the brine for a unique, smoky flavor that adds depth to every bite.
-
Savory Bites: Mix in sliced red onion or shallots for a savory depth that harmonizes perfectly with the crisp beans and garlic.
Explore these variations to discover your perfect flavor combination!
Chef's Helpful Tips
- When making Quick Pickled Dilly Beans, ensure the green beans are trimmed evenly for a uniform look and even pickling.
- Use fresh dill for the best flavor, but if it's unavailable, dill seeds can be a convenient substitute.
- Always heat the brine just until the salt and sugar dissolve to maintain the integrity of the flavors.
- Remember to let the jars cool at room temperature before sealing them, as this prevents any pressure buildup that could lead to spills.
Quick Pickled Dilly Beans Recipe FAQs
How do I choose the best green beans for this recipe?
Absolutely! Look for fresh, bright green beans that are firm to the touch. Avoid any that have dark spots or are limp, as these indicate overripeness. Ideally, select beans that are about 4-6 inches long for a perfect crunch and presentation.
How should I store Quick Pickled Dilly Beans and how long do they last?
You can store your Quick Pickled Dilly Beans in the refrigerator for up to 2 months. Just make sure they remain submerged in the brine to keep them flavorful and prevent spoilage. If you notice any off-smells or changes in color over time, it’s best to discard them.
Can I freeze Quick Pickled Dilly Beans?
While I don’t recommend freezing these pickled beans due to potential changes in texture, you can freeze them if needed. For the best results, place them in an airtight container or freezer bag, removing as much air as possible. They can be stored in the freezer for up to 3 months. When you're ready to enjoy them, thaw them in the refrigerator overnight to retain some crunch.
What if my pickles are too salty or too sweet?
Very! If you find that your Quick Pickled Dilly Beans end up too salty or too sweet, you can balance the flavors. Add a little more water to dilute the brine until it suits your taste. Remember, you can always tweak it before sealing! When making them again, consider adjusting the salt and sugar amounts in the brine to better fit your palate.
Are Quick Pickled Dilly Beans safe for my pets?
It’s wise to be cautious! While the beans themselves are safe for pets, the brine is not recommended due to high salt content and spices like garlic. So, it’s best to keep this treat for your family and avoid sharing with furry friends.
Can I use dried dill or other spices instead?
Of course! If fresh dill isn’t available, you can use 1 tablespoon of dill seeds as a substitute. Dried dill can work as well—just use about 2 teaspoons. Feel free to experiment with spices like mustard seeds or red pepper flakes for an exciting twist!
Quick Pickled Dilly Beans
Ingredients
Equipment
Method
- Start by tightly packing the trimmed green beans into a clean jar. Add the peeled garlic and fresh dill, ensuring they’re evenly distributed throughout for maximum flavor.
- In a saucepan, combine the white vinegar, water, kosher salt, and sugar. Heat over medium heat, stirring gently until the salt and sugar are fully dissolved.
- Once dissolved, carefully pour the hot brine over the packed beans in the jar. Ensure the beans are completely submerged.
- Allow the jar to cool at room temperature for about 20-30 minutes. Once cooled, seal it with a lid and refrigerate.
- For optimal flavor, let the dilly beans chill in the refrigerator for at least 24 hours before tasting.


Leave a Reply