
Imagine biting into a crisp, tangy homemade pickle that bursts with flavor, sending a delightful crunch echoing through your senses. The aroma of garlic and dill wafts through the air, mingling with the sharpness of vinegar as you prepare these delightful treats in your kitchen. Each jar promises a treasure trove of taste, perfect for snacking or elevating your favorite sandwiches.
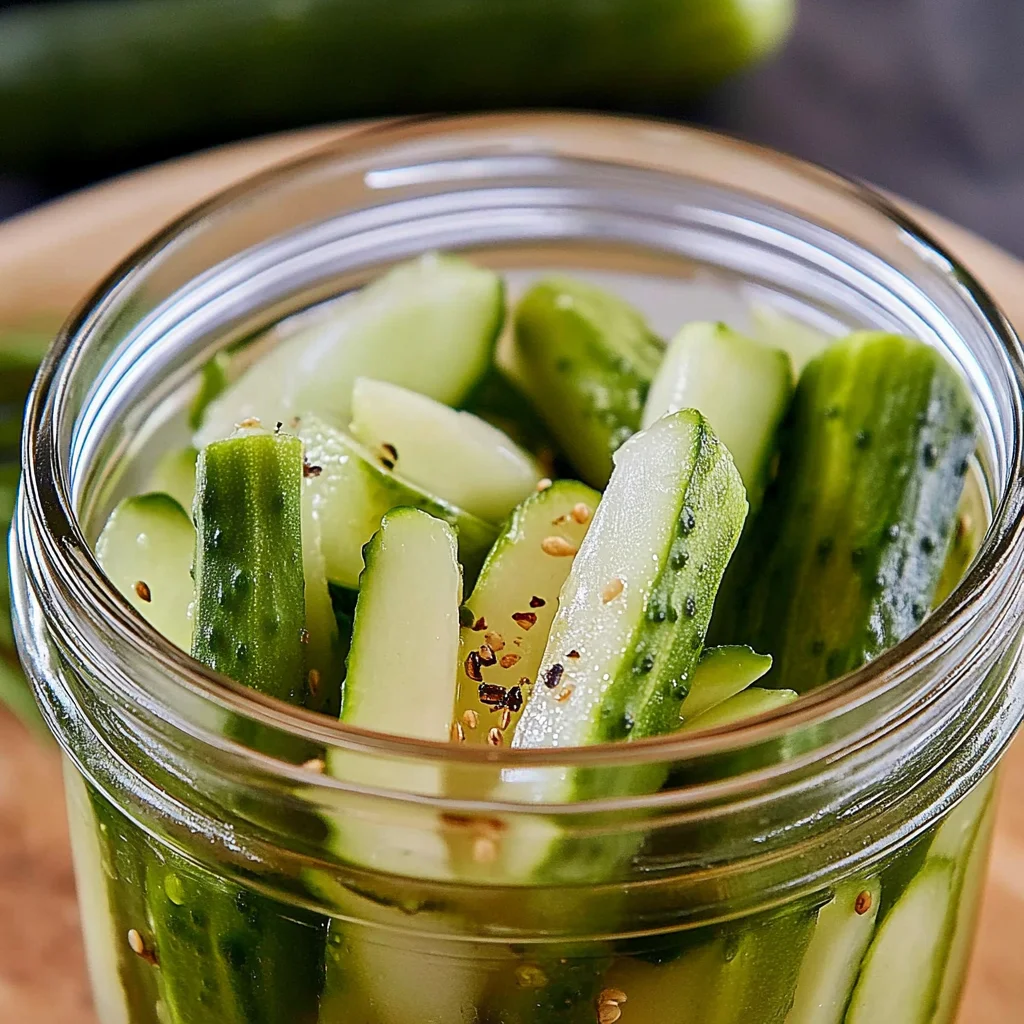
As you embark on this simple yet rewarding journey of making homemade pickles, you'll find that it's not just about preserving cucumbers; it’s about creating memories and flavors that will linger long after the last bite. With just a handful of ingredients and straightforward steps, you’ll soon be savoring the fruits of your labor, sharing them with friends and family, and perhaps even sparking conversations around the dinner table.
Why You'll Love This Recipe
- You'll adore this homemade pickles recipe for its simplicity and ease, making it perfect for beginners.
- The vibrant flavors and crisp texture will elevate any meal, adding a delightful crunch.
- Visually appealing in their jars, these pickles also make a fantastic gift or addition to any spread.
- Plus, their versatility means you can enjoy them as snacks, on sandwiches, or as a refreshing side dish.
Now that you know why you'll love making homemade pickles, let's dive into the recipe details!
The first time I served my homemade pickles at a family barbecue, the delight on everyone’s faces was priceless. My cousin couldn’t stop raving about their crunch and flavor, and I felt a warm sense of pride in sharing something special. Now, let's dive deeper into the recipe details!
Essential Ingredients
To create the perfect homemade pickles, you'll need the freshest ingredients for optimal flavor and texture.
4 medium cucumbers: Opt for pickling cucumbers if possible, as they are firmer and better suited for pickling. Wash them thoroughly before preparation.
1 cup water: Use filtered or distilled water to enhance the purity of your brine and ensure the best taste.
1 cup white vinegar: Select vinegar with 5% acidity for effective pickling; this acidity level helps to preserve the cucumbers properly.
2 tablespoons kosher salt: Kosher salt is preferred because it dissolves easily and doesn’t contain additives that can affect flavor.
1 tablespoon sugar: This ingredient is optional but adds a subtle sweetness that balances the tanginess of the vinegar; adjust to your taste.
2 cloves garlic: Peeled and smashed garlic infuses a robust flavor into your pickles; feel free to adjust based on your preference for garlic intensity.
1 teaspoon black peppercorns: Whole peppercorns add a nice bite without overwhelming the other flavors in your pickles.
1 teaspoon mustard seeds: These seeds contribute a unique, slightly spicy flavor that enhances the overall taste profile of your pickles.
1 teaspoon dill seeds: If you prefer fresh dill sprigs, they can also be used to impart a delightful herbal note to your pickles.
1 bay leaf dried: A dried bay leaf adds depth and complexity to the flavor of your brine, making each bite more enjoyable.
The full ingredients list, including measurements, is provided in the recipe card directly below.
Let's Make It Together
Step 1: Prepare the Cucumbers:
Start by washing the 4 medium cucumbers thoroughly under cold water, ensuring you remove any lingering dirt or pesticides. As you scrub, notice the coolness of the cucumbers against your hands. Trim off both ends of each cucumber to help maintain their crisp texture during pickling. Now, slice them into your desired shape—spears, slices, or keep them whole if they fit snugly in your jar. Personally, I love slicing them into spears for that satisfying crunch!
Step 2: Make the Brine:
In a saucepan, combine 1 cup of water, 1 cup of white vinegar (5% acidity), 2 tablespoons kosher salt, and 1 tablespoon sugar (optional). Stir this mixture over medium heat until the salt and sugar completely dissolve. You’ll see the liquid become clear and fragrant as it warms. This step is essential because it ensures an even distribution of flavors throughout your homemade pickles. Once dissolved, remove the brine from heat and let it cool slightly; this will prevent cooking the cucumbers when you pour it over.
Step 3: Pack the Jars:
Grab some clean quart-sized mason jars and begin layering in flavor! Add the smashed garlic cloves, black peppercorns, mustard seeds, dill seeds (or fresh dill sprigs), and a bay leaf to each jar. As you do this, take a moment to inhale the spicy aroma wafting up—this is where the magic begins! Next, pack those sliced cucumbers tightly into each jar, leaving about ½ inch of headspace at the top to aid in brining and prevent overflow.
Step 4: Add the Brine:
Using a funnel for precision, carefully pour the warm brine over your packed cucumbers in each jar. Make sure they are fully submerged; if any float to the top, use a clean utensil to gently push them down. The sight of vibrant green cucumbers immersed in tangy brine is truly enticing! Seal the jars tightly with lids but be cautious not to over-tighten them since your pickles need room to release gases during fermentation.
Step 5: Refrigerate and Wait:
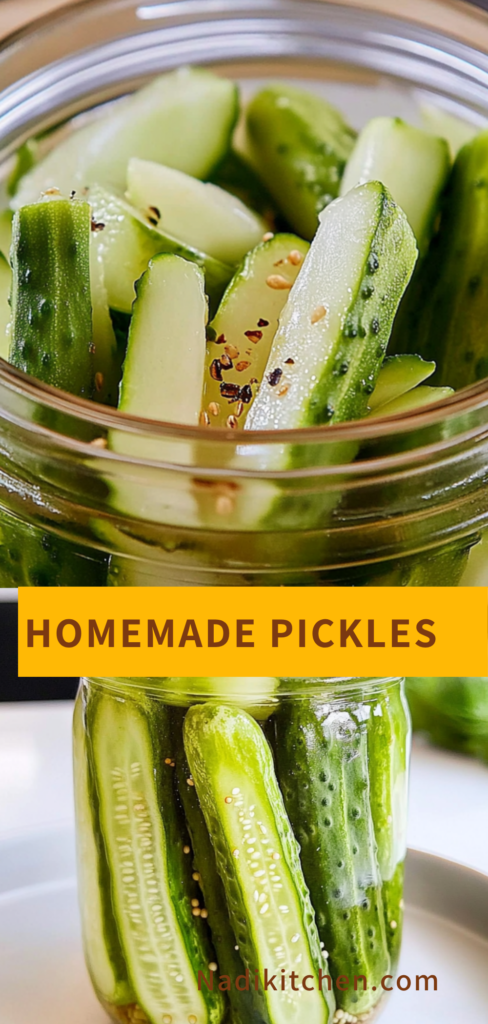
Now comes one of the hardest parts—waiting! Place your jars in the refrigerator and allow them to sit for at least 24 hours for the flavors to develop. For an even bolder taste experience, resist temptation and wait 1-2 weeks before diving in. The anticipation is part of the fun as those delicious flavors meld together! You’ll be rewarded with delightful homemade pickles ready to enjoy as a snack or on your favorite sandwiches.
With these steps completed, you're now well on your way to enjoying delicious homemade pickles that will impress friends and family alike! Let’s explore some creative ways to serve these tangy delights next!
Add Your Touch
Feel free to customize your homemade pickles by adding your favorite spices or herbs! Consider incorporating red pepper flakes for a spicy kick, or swap out dill seeds for fresh sprigs of dill for a more vibrant flavor. You can also experiment with different types of vinegar, such as apple cider or rice vinegar, to create unique taste profiles. Don't hesitate to add slices of onions, carrots, or even jalapeños for additional crunch and flavor. Embrace your creativity—these pickles are all about making them your own! Now, let's explore some delicious ways to enjoy these tasty treats.
Storing & Serving
To keep your homemade pickles fresh and flavorful, store them in the refrigerator where they will last for up to 2 months. Ensure the jars are tightly sealed to prevent air exposure, which can diminish their crispness. For the best taste, serve your pickles chilled as a snack, on sandwiches, or alongside your favorite dishes. With patience, the flavors will only get better over time.
Now that you have mastered storing and serving, let’s delve into some variations you can try for even more exciting flavors!
Chef's Helpful Tips
- 1. To enhance the crunchiness of your homemade pickles, consider soaking the cucumbers in ice water for 30 minutes before slicing. This extra step helps keep them firm during the pickling process.
- Always use kosher salt for brining; it dissolves easily and avoids any off-flavors that table salt might impart. Avoid iodized salt, as it can result in cloudy brine and alter the taste of your pickles.
- If you prefer a spicier kick, add red pepper flakes or sliced jalapeños to the jar before packing in the cucumbers. This not only adds flavor but also gives your homemade pickles a delightful heat!
These tips will help elevate your homemade pickles to new levels of flavor and texture, making them a delightful addition to any meal.
After sharing my first batch of homemade pickles with friends, their delighted faces and compliments reminded me that food made with love creates lasting memories and connections.
How to Know It’s Done Perfectly
Your homemade pickles are perfectly done when they have a vibrant, bright color and a crisp texture. They should emit a delightful aroma of garlic and spices. When tasted, they will strike a balance between tangy and slightly sweet (if sugar was added). Remember, slight variations in flavor can occur, so trust your palate!
Now that you're confident in your pickling prowess, let’s explore some delicious ways to enjoy these homemade pickles.
FAQ
What are homemade pickles, and how do they differ from store-bought ones?
Homemade pickles are cucumbers preserved in a vinegar-based brine, allowing you to control the flavors and ingredients. Unlike store-bought pickles, which may contain preservatives and artificial flavors, homemade pickles offer a fresher taste and can be customized to suit your palate.
How long do I need to wait before enjoying my homemade pickles?
For the best flavor development, it's recommended to let your homemade pickles sit for at least 24 hours in the refrigerator. However, waiting 1-2 weeks will provide a more intense flavor that many find irresistible.
Can I adjust the ingredients in my homemade pickles recipe?
While it's important to stick to the official ingredients listed for consistent results, you can certainly experiment with the optional sugar for sweetness or add extra spices if desired. Just ensure that the essential components remain unchanged to maintain proper pickling.
How should I store my homemade pickles once they are ready?
After sealing your jars tightly with lids, store your homemade pickles in the refrigerator. They can be kept for several weeks, allowing you to enjoy them over time as they develop even more flavor.
What should I do if my cucumbers float above the brine when making homemade pickles?
If your cucumbers float above the brine after pouring it into the jars, you can use a clean utensil to gently push them down until they are fully submerged. Keeping them submerged is crucial for proper brining and flavor infusion.
With these FAQs addressed, you'll be well on your way to mastering homemade pickles!
Homemade Pickles
Ingredients
Method
- Wash the cucumbers thoroughly under cold water to remove any dirt or pesticides. Trim off the ends of each cucumber, as this can help prevent them from becoming soft during the pickling process.
- Slice the cucumbers into your desired shape: spears, slices, or leave them whole if they are small enough to fit in the jar.
- In a saucepan, combine the water, white vinegar, kosher salt, and sugar (if using). Stir the mixture over medium heat until the salt and sugar are completely dissolved. This step is crucial as it ensures that the pickling solution is well-balanced and flavors the cucumbers evenly.
- Once dissolved, remove the brine from heat and let it cool slightly. This prevents cooking the cucumbers when you pour the brine over them.
- In clean quart-sized mason jars, add the smashed garlic, black peppercorns, mustard seeds, dill seeds, and bay leaf. This layering of spices will infuse the pickles with flavor.
- Pack the cucumber slices tightly into the jars, leaving about ½ inch of headspace at the top. This helps with the brining process and prevents overflow.
- Using a funnel, carefully pour the warm brine over the cucumbers in each jar, ensuring that the cucumbers are fully submerged. If necessary, use a clean utensil to push down any floating cucumbers.
- Seal the jars tightly with lids, but do not over-tighten as the pickles will need to release gases during fermentation.
- Place the jars in the refrigerator. Allow the pickles to sit for at least 24 hours for the flavors to develop. For best results, wait 1-2 weeks before consuming, as this allows for a more intense flavor.
- Enjoy your homemade pickles as a snack, on sandwiches, or as a side dish!

Leave a Reply